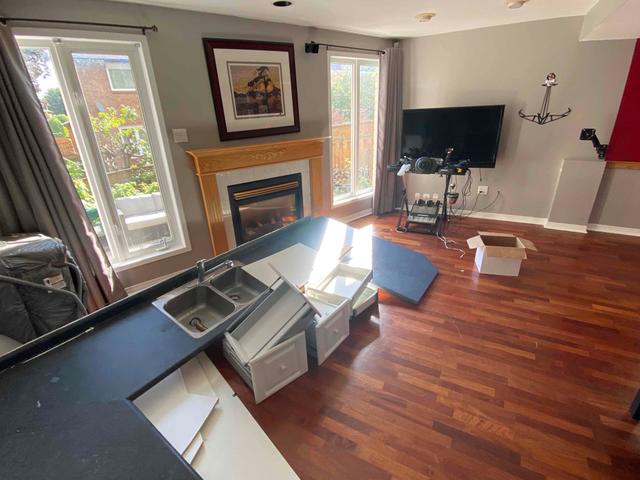
Remove Everything
Everything from floors to kitchen counters, had to be removed so we can effectively lift the basement floor all at once.
Two Inches Too Much
The floor had started to sink more than two inches, and this is without the floor being removed. The water damage affected all the hardwood.
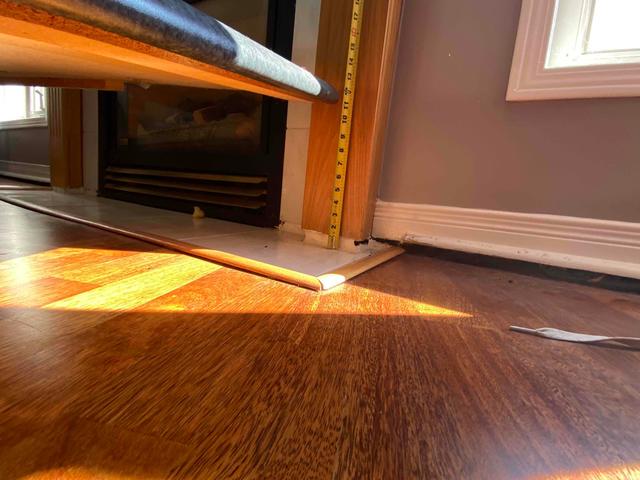
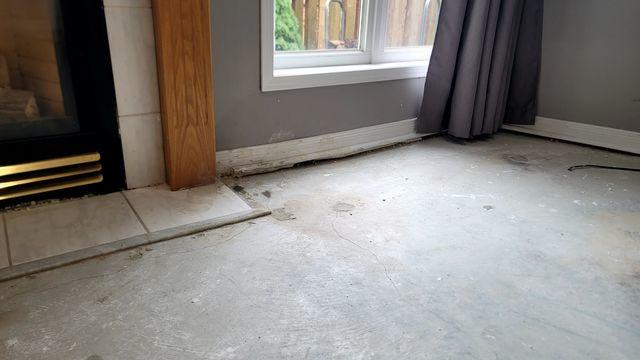
Look Closely
Look closely at the back wall baseboard. You can see the warping in height from the damages.
Baseboard
Notice the baseboard and the gap at the bottom. This is from the flooding and the mud jacking that was previously done.
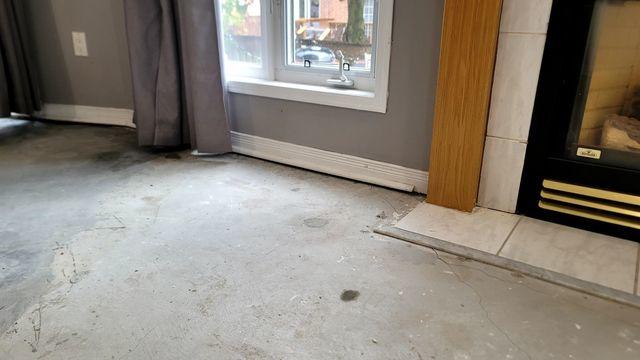
Time to remove the trim
We have to remove the baseboard bottom trim to get underneath and ensure that we are leveling the right amount.
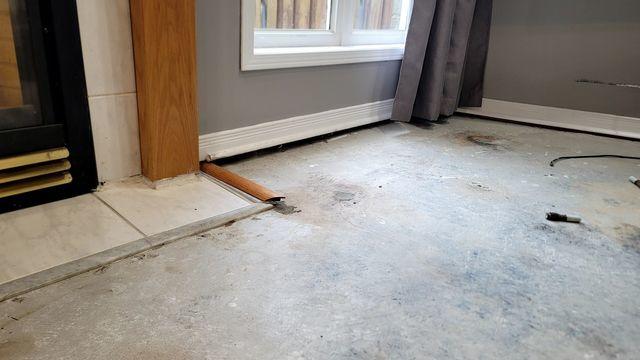
Removed
After removing the bottom piece, we now have a better perspective on how much polyurethane to inject. We need to leave a bit of space because we did remove the flooring to reveal the concrete.
One Section
After leveling the ground, we sealed all the injection spots with fresh concrete to ensure that no water will penetrate beneath.
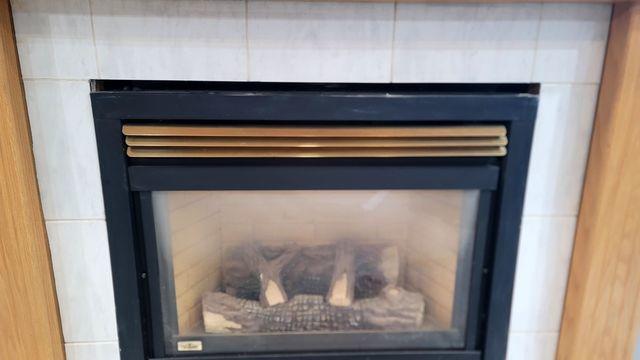
Fireplace Before
We need to inject our PolyLevel® into the slab out front to eliminate gap above.
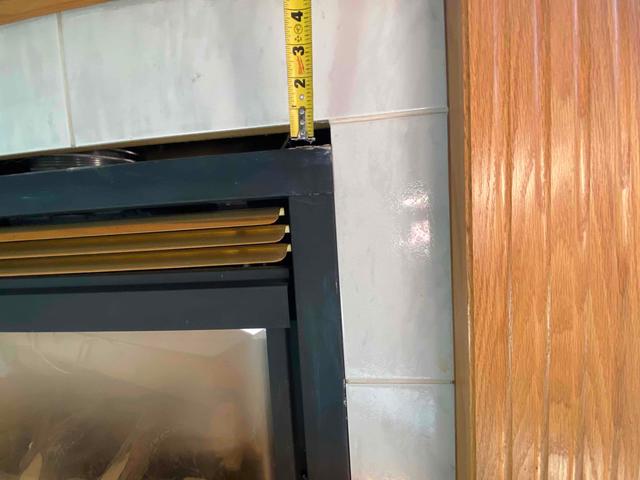
Fireplace Separation
The fireplace separated from itself by a full inch!
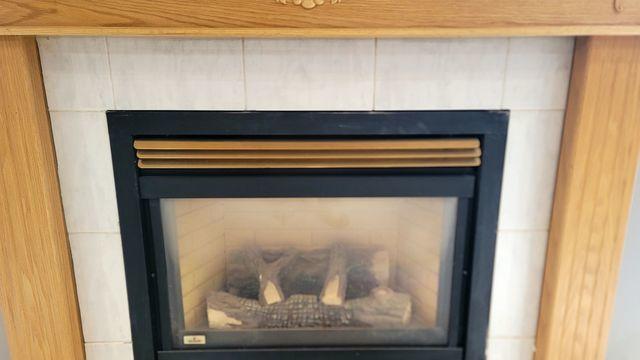
Fireplace After
Notice the gap at the top of the ventilation is now eliminated.
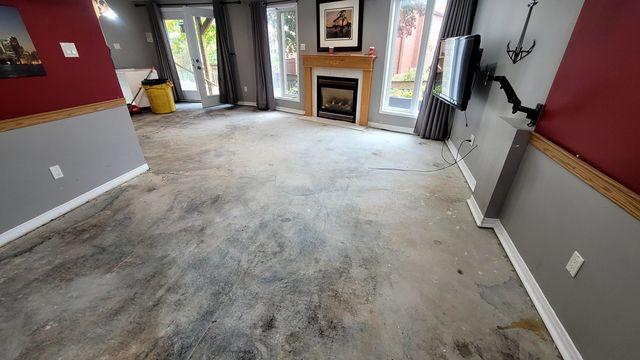
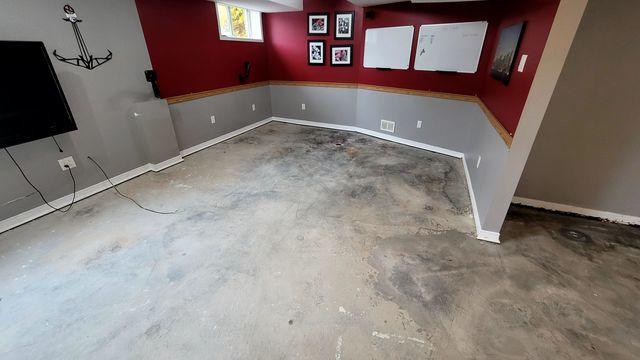
Scope of work
The basement is fairly large, this does not include the whole kitchen area around the left corner.
